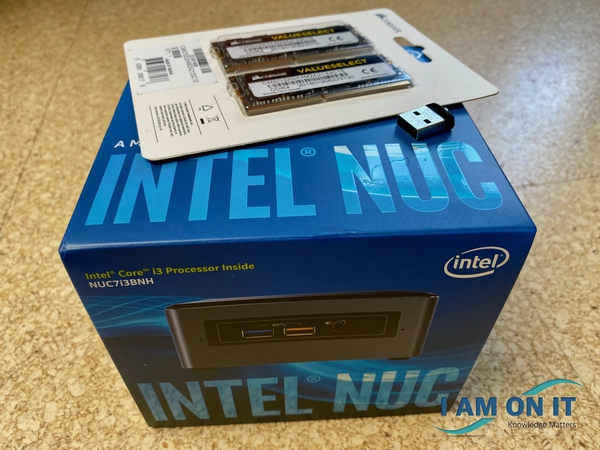
Due to limited resources in my home lab, I have placed the scratch partition on a USB stick.

It now has happened twice in my home lab that the datastore on the USB devices was extremely reduced – namely 0 and with the datastore reduced to 0, the scratch partition was “missing”.
Both times, I noticed the issue with the scratch partition when I staged ESXi updates. I stage updates because I want to make sure that the update received is working properly. Staging is usually used to reduce the time an ESXi host is placed into maintenance mode during remediation.
But getting back to the issue that the datastore on the USB device was reduced to 0.
The respective ESXi host did show the USB device but due to 0 as capacity there was no disk space available to stage the updates.
To recreate the datastore, I
- ejected the USB device
- formatted the USB device with a Mac – with a non-VMFS format
- put the USB device back into the ESXi host (vSphere 7)
- created a new VMFS6 datastore on the USB device
To create a new VMFS6 datastore, I used the following step-by-step instructions:
- Connect to the ESXi host with SSH
- Stop the USB arbitrator service. This service is used to passthrough USB device from an ESX/ESXi host to a virtual machine. (When disabling it, you can no longer passthrough USB devices to VMs)
~ # /etc/init.d/usbarbitrator stop
- (optional) Use this command to permanently disable the USB arbitrator service after reboot.
~ # chkconfig usbarbitrator off
- Plug in the USB device to your ESXi host. While connecting the USB device you can either watch /var/log/vmkernel.log to identify the device name or identify it within /dev/disks.
Devices are either named mpx.vmhbaXX or with an naa.X number.~ # ls /dev/disks/
- Write a GPT label to the device (Assuming that the Device ID is naa.5000000000000001)
~ # partedUtil mklabel /dev/disks/naa.5000000000000001 gpt
- To create a partition you need to know the start sector, end sector, which depends on the device size and the GUID.
The start sector is always 2048
The GUID for VMFS is AA31E02A400F11DB9590000C2911D1B8
The end sector can be calculated with the following formula (Use the numbers from getptbl):~ # partedUtil getptbl /dev/disks/naa.5000000000000001 gpt 15566 255 63 250069680
15566 * 255 * 63 – 1 = 250067789
You can also calculate the end sector with the following command:~ # eval expr $(partedUtil getptbl /dev/disks/naa.5000000000000001 | tail -1 | awk '{print $1 " \\* " $2 " \\* " $3}') - 1 - Create the VMFS partition (Replace with your end sector)
~ # partedUtil setptbl /dev/disks/naa.5000000000000001 gpt "1 2048 250067789 AA31E02A400F11DB9590000C2911D1B8 0"
- Format the partition with VMFS6
# VMFS v6
~ # vmkfstools -C vmfs6 -S USB-Datastore /dev/disks/naa.5000000000000001:1
The USB-Datastore should now appear in your datastores view.
Source for the instructions: Virten – USB Devices as VMFS Datastore in vSphere ESXi 6.5 Thanks for sharing :-)!
The instructions are easy to follow and they work. That is the reason I am sharing them.


